Table of Contents
How do a send a fax from my vFax account?
There are 3 ways to send a fax from your vFax account and each option is outlined below. Web Interface - Quick Web Interface - Slow By Email
WEB INTERFACE - QUICK
NOTE: This quick-fax option does not permit coversheets or multiple attachments. If you would like to fax multiple documents or include a customizable cover sheet then scroll down to “WEB INTERFACE - SLOW”
- Visit http://www.viewmyfax.com
- Enter your viewmyfax username and password into the appropriate fields. Click LOGIN when finished. (if you have lost your username and password then please submit a ticket and support will respond with this information)
- Click QUICK SEND A FAX from the right hand menu
- Complete the following fields: Fax-To-Number = the fax number where you would like the fax sent to From E-Fax DID = the fax account where you would like to send the fax from Fax File = Click BROWSE and select the fax document you would like to fax. NOTE: Attachments may be sent in JPG, PDF, Adobe PostScript, TIFF, Microsoft Word, Excel, CSV, HTML & Plain Text formats. - Click the orange GO button
- You should receive a confirmation indicating your fax is processing.
- You can click FAX STATUS from the toolbar at the top for a status update. Here you can see the my fax is PROCESSING.
- You may continue to click the FAX STATUS link at the top or refresh button on your browser.
- Here you can see my fax was successfully sent.
WEB INTERFACE - SLOW
- Visit http://www.viewmyfax.com
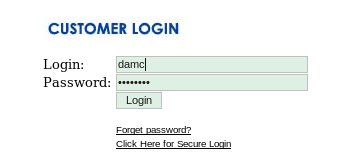
- Enter your viewmyfax username and password into the appropriate fields. Click LOGIN when finished. (if you have lost your username and password then please submit a ticket and support will respond with this information)
- Click SEND A FAX from the right hand menu
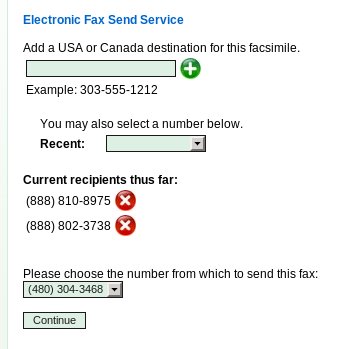
- Enter the 10 digit phone number where you would like to fax too. You may also select a recent number from the list.
- Click the GREEN PLUS SIGN to add this number.
- Repeat the previous 2 steps until all fax numbers where you would like this fax sent too has been added to the list.
- Choose the number from where you would like this fax to originate. (This option may appear or may be static if you have only 1 fax number on your account).
- In the example image below I am sending this fax to 888-810-8975 and 888-802-3738 and the fax will report the fax machine and callerID of 480-304-3468.
- Click CONTINUE
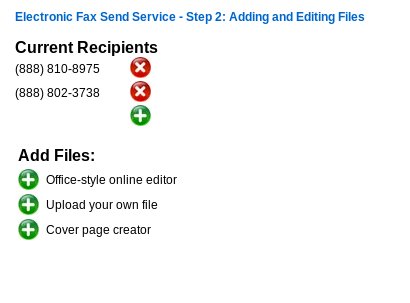
- For our example we are going to assume you are creating a cover sheet on-line. Click COVER PAGE CREATOR from the list of ADD FILES options.
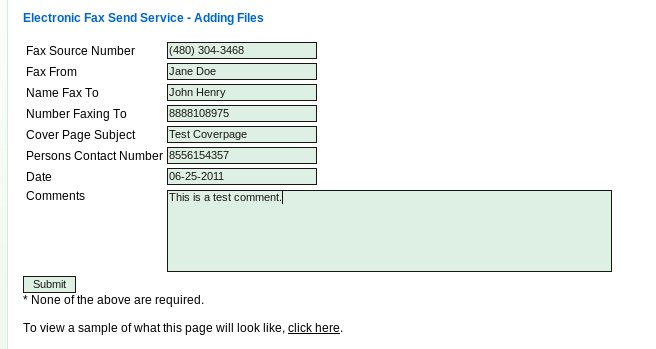
- Complete the necessary fields. An example is shown in the image below. Fax Source Number - this is the fax number reported to the destination fax machine Fax From - this is your name or your company name Name Fax To - this is the name of the person you are sending this fax too Number Faxing to - This is the number that will be reported as the destination number on the cover sheet Cover Page Subject - This is the cover page subject Person Contact Number - this is the cell or office number of the person sending the fax, normally so the person receiving the fax can call the sender if there is a problem or question Date - Today's date. Comment - If you have any comments then enter them here.
- Click SUBMIT
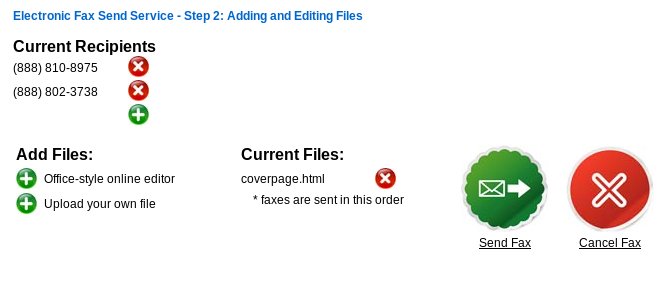
- You should be provided a confirmation that the cover page is complete. You will be redirected to the composition screen. You can see from this screen that the coverpage is the only file currently included in this fax.
- You should now upload the file you would like to fax. Faxes may be sent in JPG, PDF, Adobe PostScript, TIFF, Microsoft Word, Excel, CSV, HTML & Plain Text formats.
- You will now be prompted to select the fax document you would like to send. I have selected a Word document. (The original and final documents are included as attachments below so you can see what the final product looks like.)
- Click UPLOAD FILE. You should receive a confirmation indicating the file you uploaded was successful.
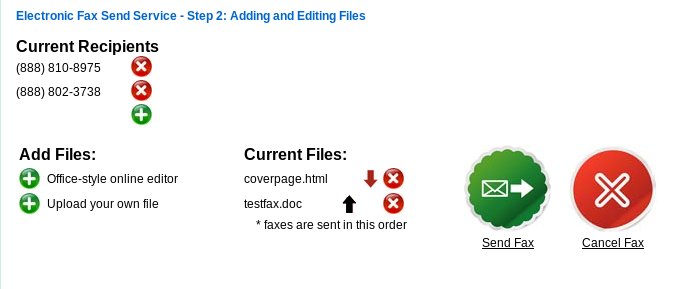
- You can now see we have our coverpage.html followed by the word document we uploaded. The documents will be faxed in the order shown under CURRENT FILES. All the documents will be sent together as a contiguous fax.
- If you have no additional attachments to upload and you are satisfied with the order the documents will be faxed then click the SEND FAX button.
- You should receive a confirmation indicating your fax is processing.
- You can click FAX STATUS from the toolbar at the top for a status update. Here you can see the my fax is PROCESSING.
- You may continue to click the FAX STATUS link at the top or refresh button on your browser.
- Here you can see my fax was successfully sent.
- A sample of the sent and received faxes can be found as attachments near the bottom of this article.
BY EMAIL
Before we begin you must confirm your email address has been added as a valid sender. - Click FAX FROM EMAILS from the right hand menu
- Confirm your email address is shown in the email list in the main panel. If not then enter your email address into the field and click ADD EMAIL.
- The next step is to create a new email using your favorite email client. I am going to use AOL for this example.
- As you can see from the example below we have entered the following information. To Field = the phone number where I am sending the fax followed by an ”@” sign followed by “emailyourfax.com” Subject = my fax number Body = Blank Attachment = the test document I am sending. NOTE: YOU CAN ONLY ATTACH ONE DOCUMENT FOR OUTBOUND FAX. ADDITIONAL ATTACHMENTS WILL BE IGNORED.
- I will now click SEND.
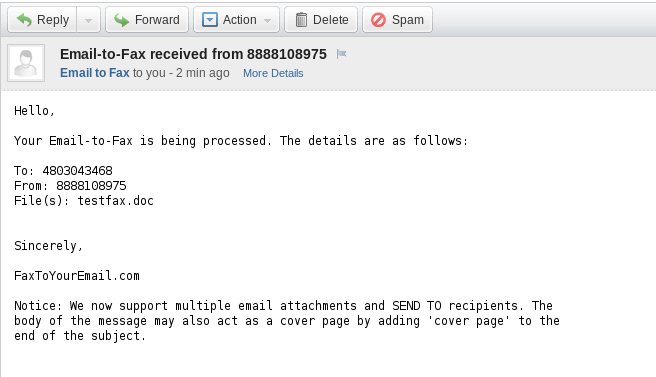
- Within a short period of time I received a confirmation that my fax is being processed.
- I can also login to the web interface and view the status of my outbound fax by clicking FAX STATUS from the top menu bar. NOTE: If you do not know your web interface login and password then please submit a support ticket and a Helix Telecom representative will be happy to help you!
—-
Here are the 2 attachments for this article.

